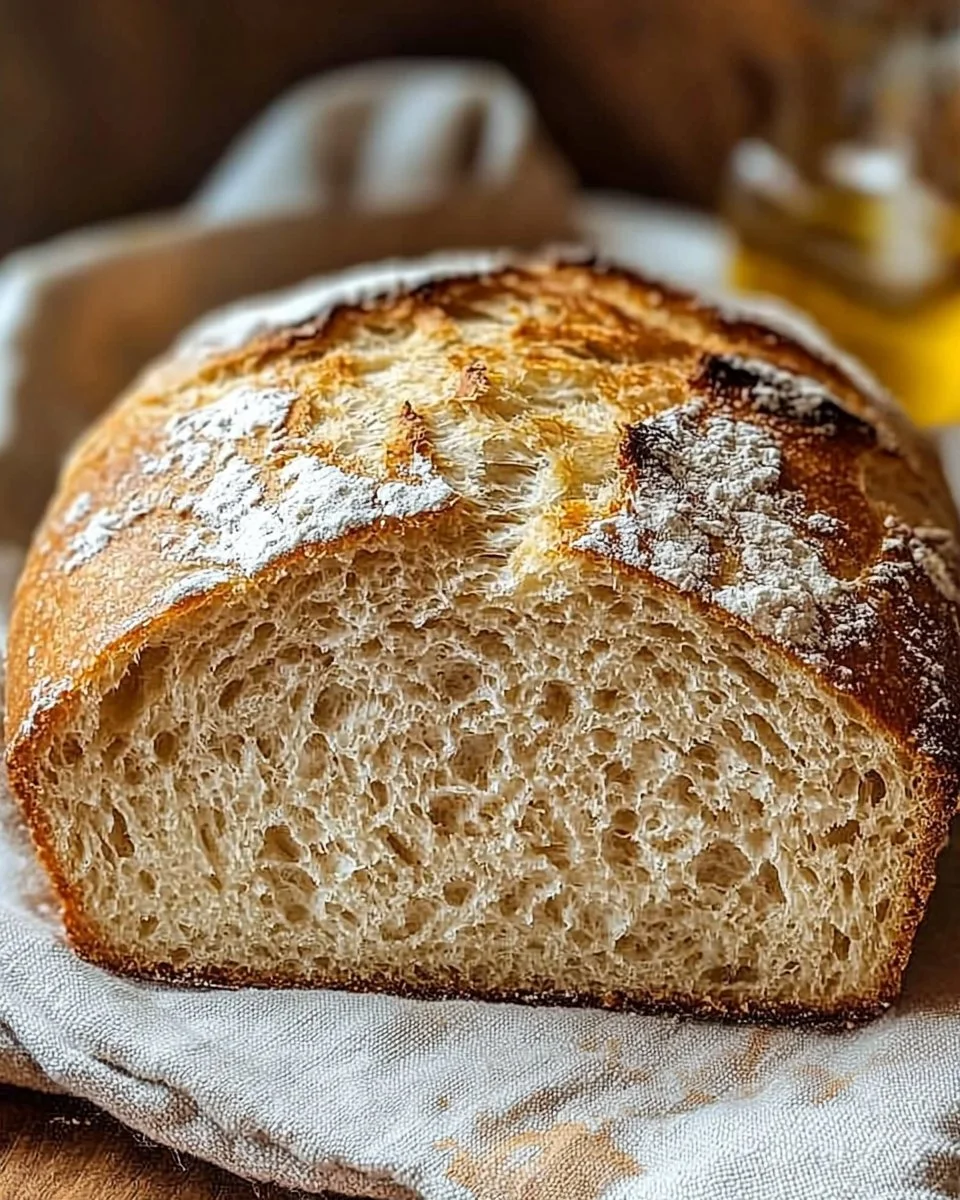
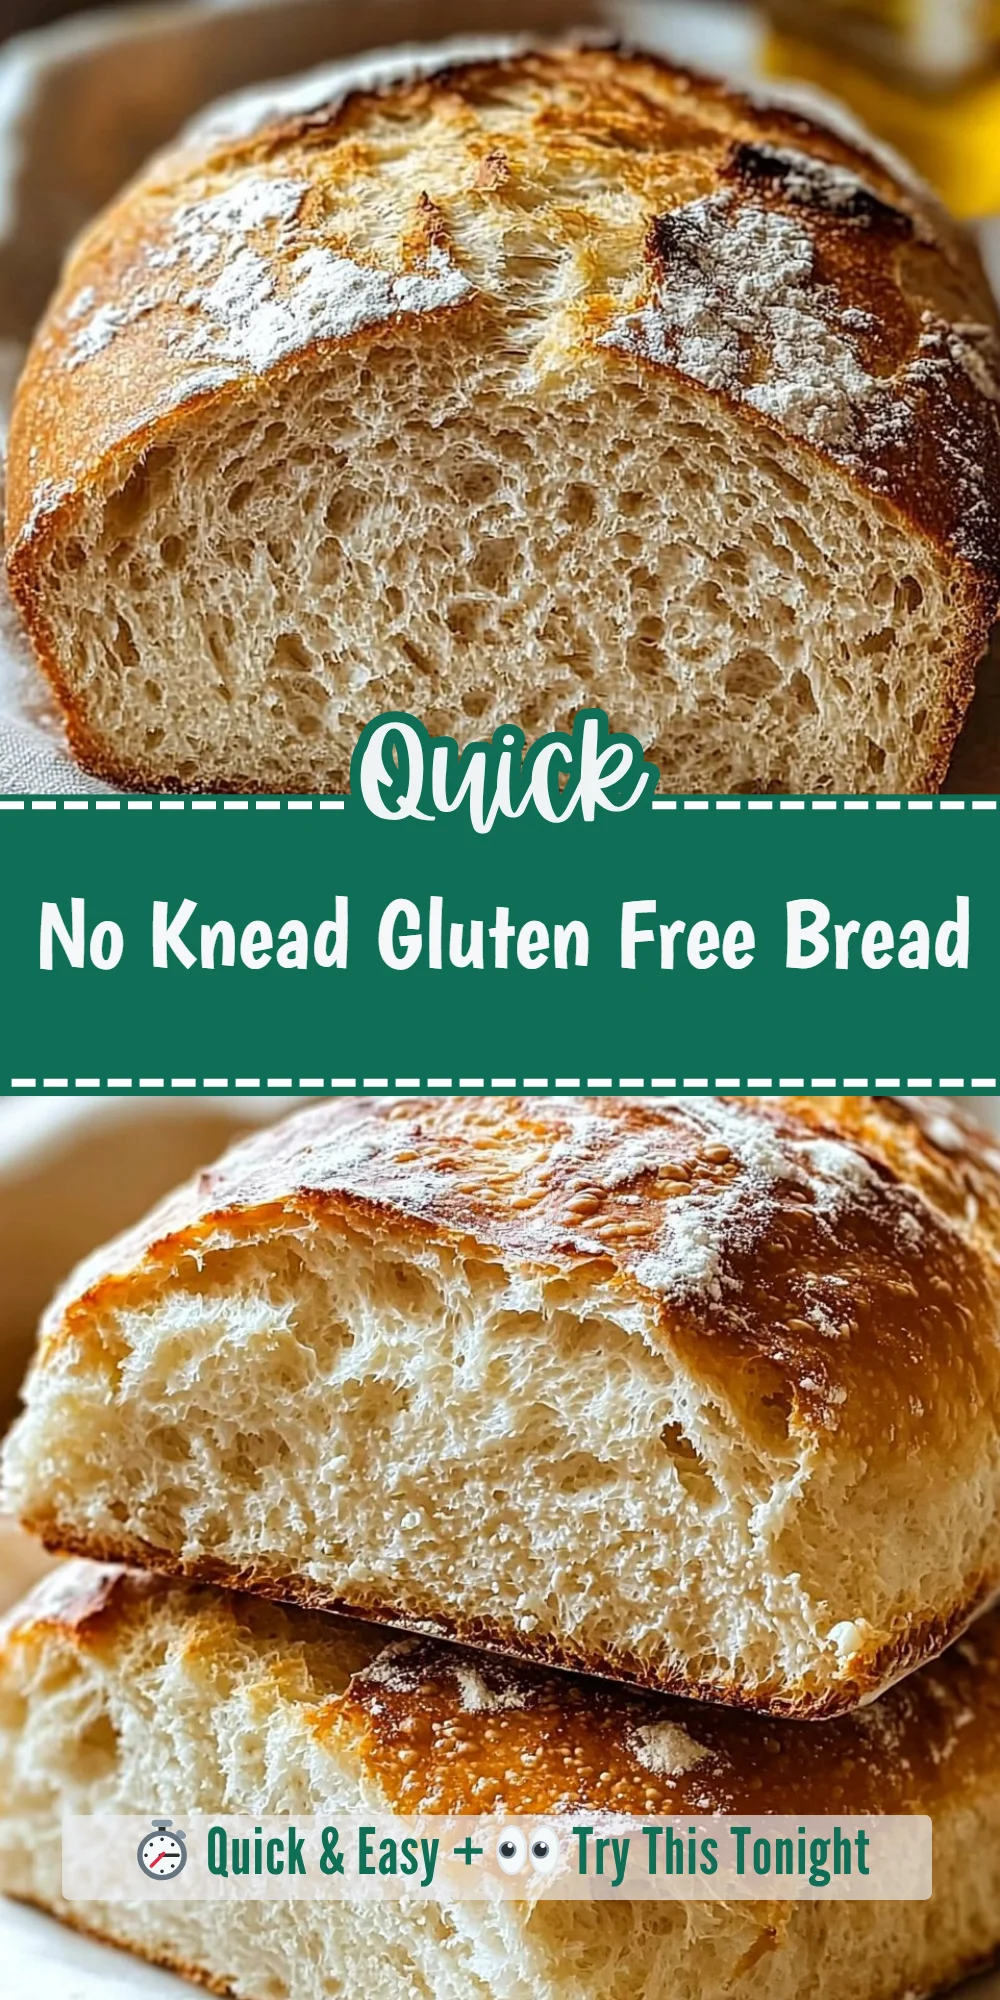
There’s something truly magical about the aroma of freshly baked bread wafting through your home, filling the air with warmth and comfort. This No Knead Gluten Free Bread comes together quickly, with minimal effort, and requires no kneading, allowing the flavors to develop beautifully as it rises. The simplicity of the recipe, paired with the gluten-free twist, ensures that everyone can enjoy a wholesome loaf of bread.
This recipe is perfect for anyone who follows a gluten-free diet, as well as those who want to experiment with easy bread baking at home. It’s an excellent choice for any gathering or as a delightful addition to your meals. Consider making it ahead of time; it can be stored to enjoy fresh slices throughout the week.
Why You’ll Love This Recipe
- The no-knead method means less prep time and fewer dishes.
- The texture is soft and fluffy, perfect for sandwiches.
- It uses simple ingredients you likely already have at home.
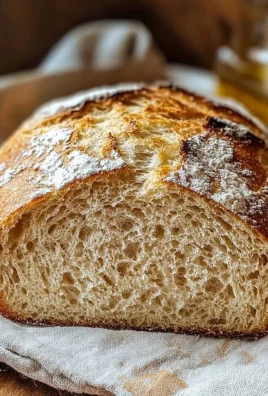
- The crust turns out golden and crispy, enhancing the overall flavor.
What You’ll Need
Gather all your ingredients for a hassle-free baking experience.
For the Dough
- 2 cups gluten-free all-purpose flour
- 1 teaspoon salt
- 1 teaspoon instant yeast
- 1 cup warm water
- 1 tablespoon olive oil
Use a gluten-free blend that contains xanthan gum for best results.
Substitutions & Swaps
- Substitute with any gluten-free flour blend.
- Use coconut oil instead of olive oil.
- Replace warm water with dairy-free milk for added richness.
- Use active dry yeast if instant is unavailable.
How to Make It
Let’s get started on your homemade bread!
1. Mix dry ingredients
In a large bowl, mix together the gluten-free flour, salt, and instant yeast until well combined.
2. Combine wet and dry
Add warm water and olive oil to the dry ingredients, stirring until fully combined.
3. Let it rise
Cover the bowl with a damp cloth and let the dough rise for 1-2 hours, or until it has doubled in size.
4. Preheat the oven
Preheat your oven to 450°F (230°C) so it’s ready for the bread as soon as it’s formed.
5. Prepare the loaf pan
Transfer the dough to a greased loaf pan, smoothing the top with a spatula to create an even surface.
6. Bake the bread
Bake for 30-35 minutes, or until the bread is golden brown and sounds hollow when tapped.
7. Cool and slice
Allow to cool before slicing to ensure the best texture and flavor, then enjoy your homemade gluten-free bread!
How to Store It
Fridge: Store in an airtight container for up to 5 days.
Freezer: Yes, it freezes well for long-term storage.
Reheat: Toast slices in a toaster until warm and crispy.
Tips for Best Results
- Ensure that your ingredients are measured accurately for a consistent dough.
- Let the dough rise in a warm spot for optimal dough activation.
- Avoid overbaking to keep the bread soft inside.
- Allow the bread to cool completely before slicing to prevent crumbly slices.
Serving Suggestions
- Pair with olive oil or balsamic vinegar for dipping.
- Serve alongside soups and stews for a comforting meal.
- Use as a base for hearty sandwiches with your favorite fillings.


Leave a Comment